Your cart is currently empty!
In this post will you will learn about how to create a gallery wall layout in seven easy steps.
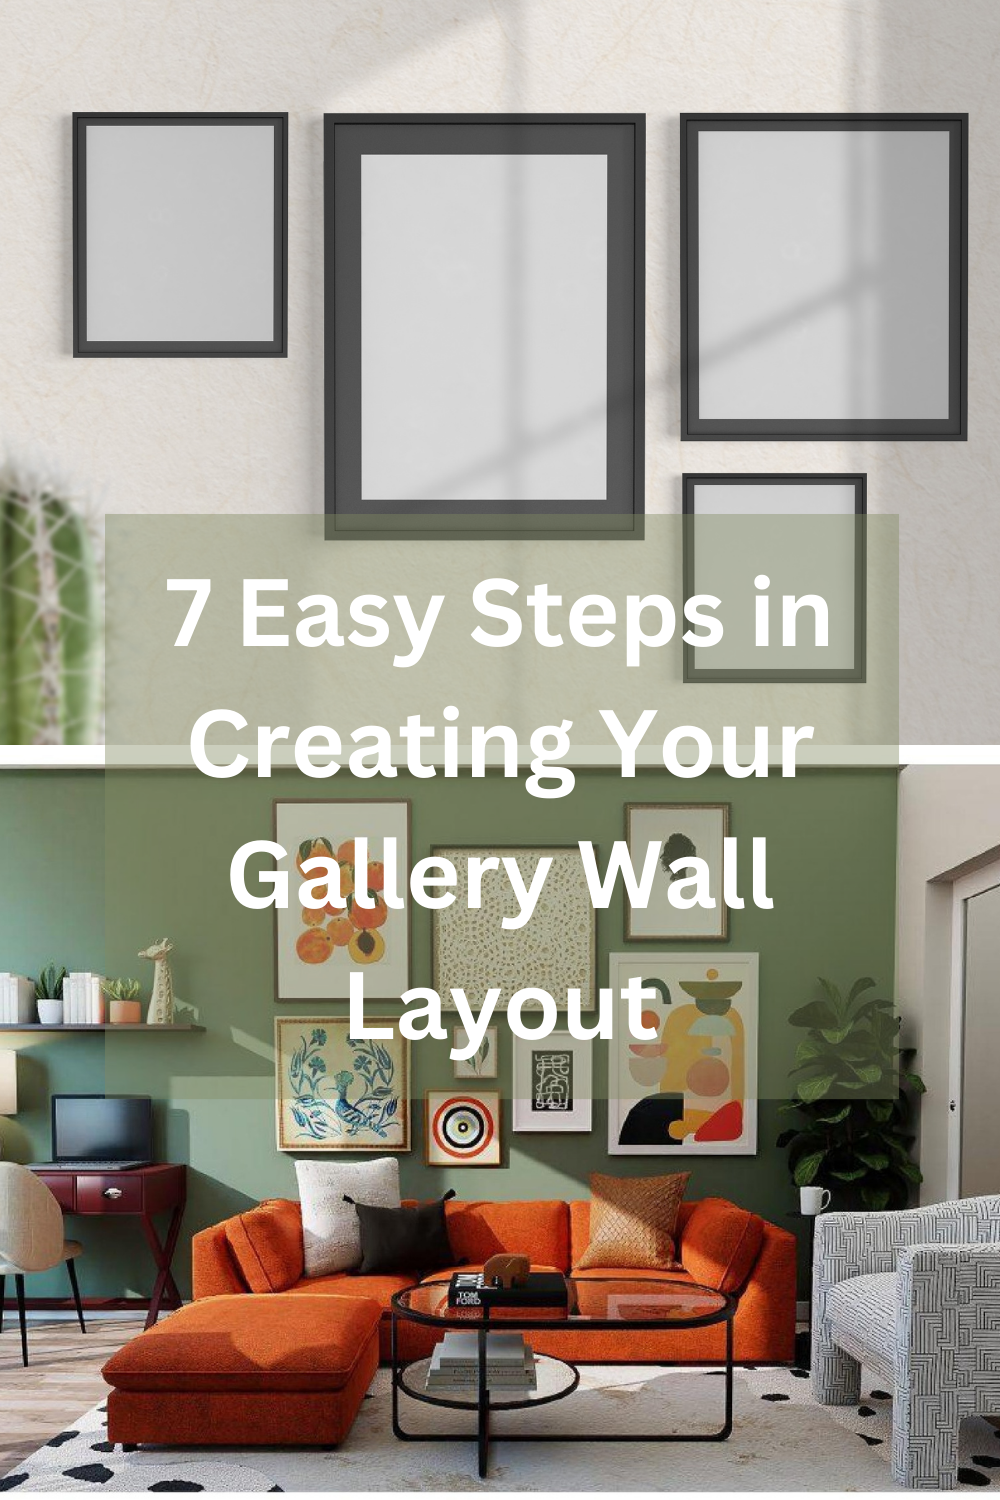
A gallery wall is a collection of items, such as artwork, photographs, and personal treasures, hung in a grouping. It can be along your staircase, your hallway, your bedroom, or an empty wall in your living room.
You will learn to create your gallery wall by deciding what you want to display, choosing your theme, choosing from gallery wall templates, measuring your space, and more.
After learning these steps, you will feel confident creating the gallery wall that compliments your family decor style.
Gallery Wall Layout in 7 Easy Steps
01 Decide What You Want to Display
For instance, you want to start thinking about what you want to display, such as unique photos from family events, photographs taken on a safari trip in South Africa (I’m pulling from my bucket list here), or even art printables from an Etsy shop. Start thinking about the scale and size of your wall gallery.
02 Decide on a Theme
The crucial questions to ask yourself are: Do you want to use photos of family events, such as birthdays or weddings, or vintage photos from your thrifting over the years? You can display artifacts from travels or work from a favorite artist.
03 Decide on Even Numbers or Odd Numbers
You can decide if you want to use even numbers or odd numbers. Even numbers work well if you want to display your art in groups of the same-size frames. However, odd numbers work well if displaying random work or collections using different frame sizes.
04 Choose a Gallery Wall Layout
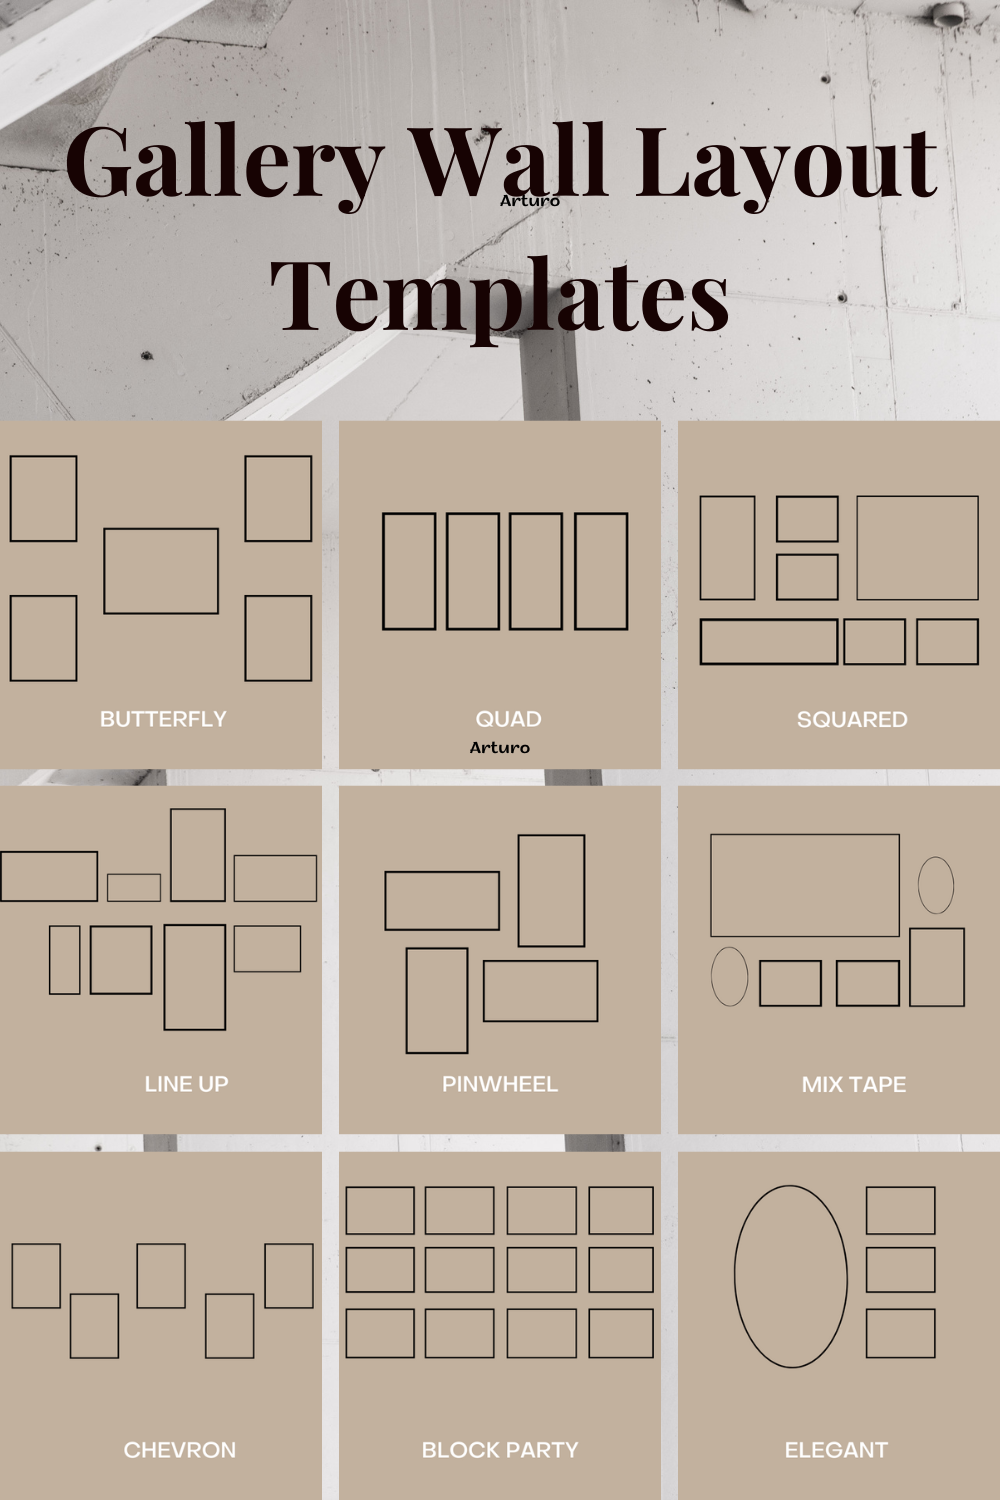
This gallery wall template offers nine layouts. Although these templates are easy to follow, please use them as inspiration in creating your layout or by adding your twist to create a design you prefer.
05 Measuring Your Space
Next, you’ll want to measure the space of your wall before you start your layout. (See gallery wall layout ideas above.) Lay your art on the floor to get the look you want. You may have to move things around or swap things out, but with some practice, you will achieve the desired look.
06 Choose Your Frames
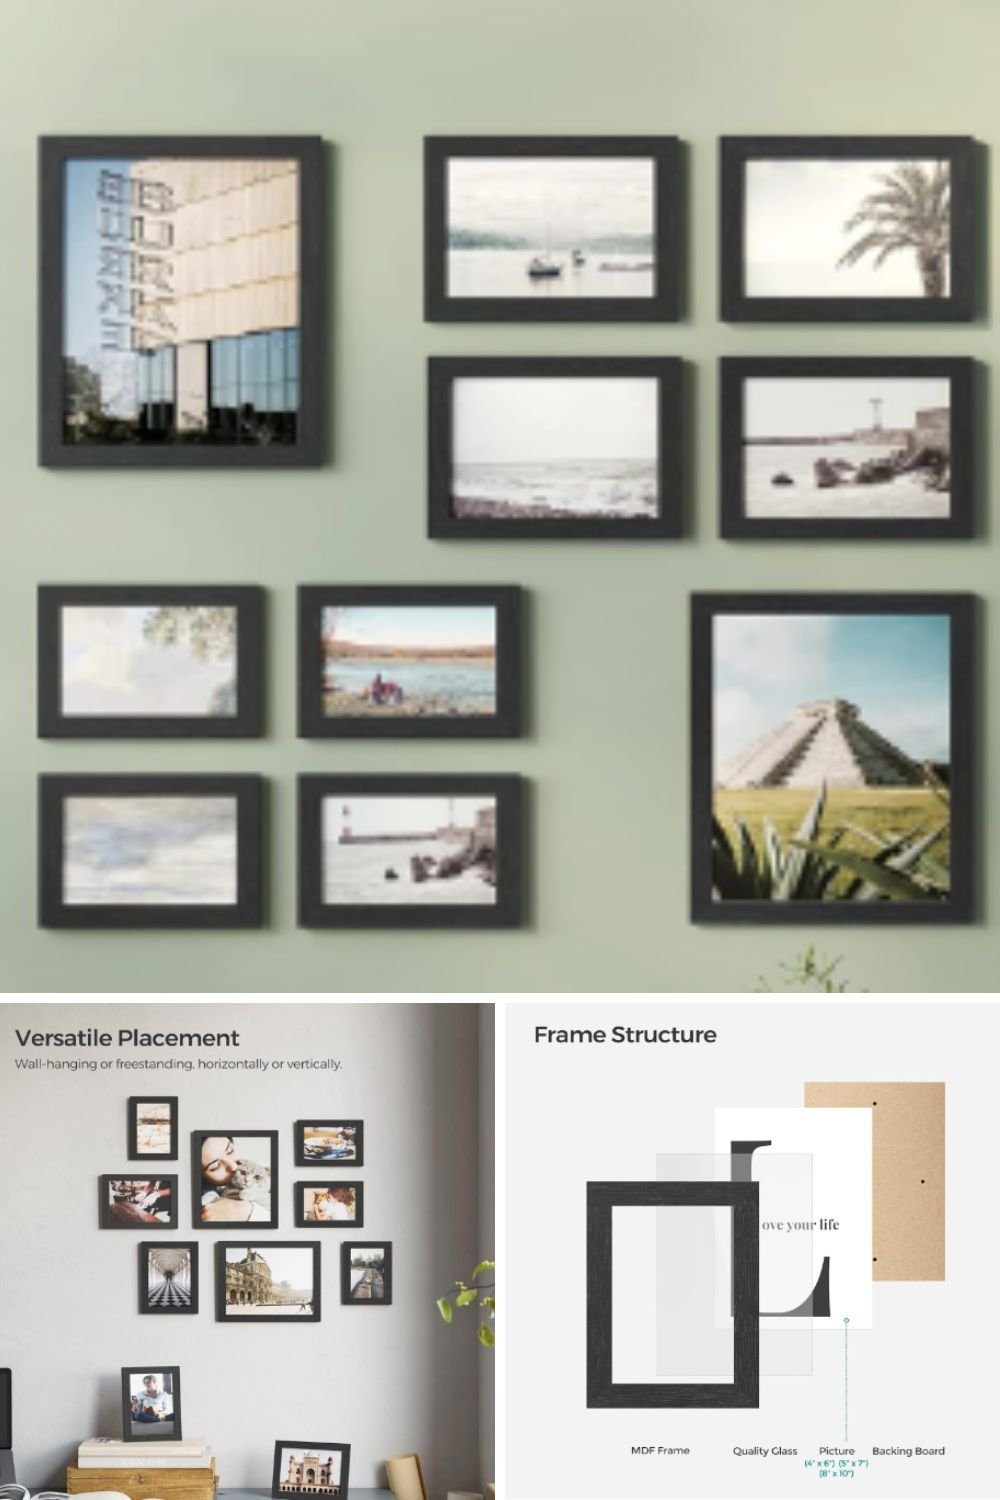
When you are happy with your layout choose your frames. You can choose frames of the same size or color or different styles to add interest. For instance, you can choose the same wood grain but different colors or shapes. In the end, it’s entirely up to you; maybe you want to achieve an eclectic or boho look.
07 Gather Tools to Hang Your Photos or Art
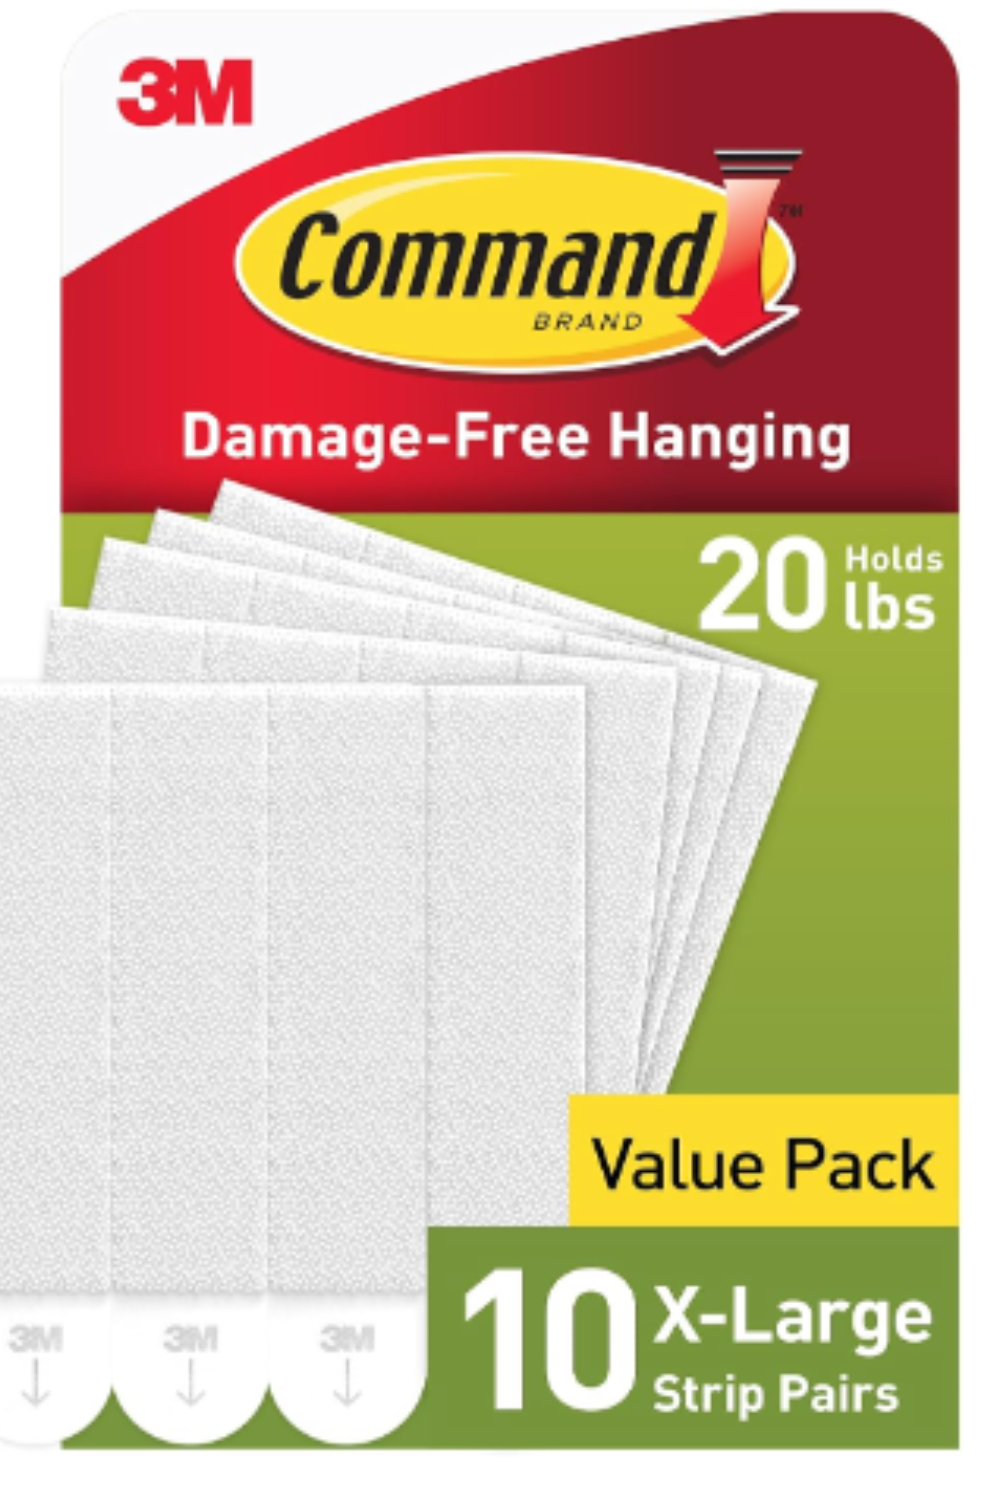
Now it’s time to hang your photos. If you make a mistake, you will need a pencil, ruler, and wall filler to correct it. Use a pencil to make minor marks on the wall where your artwork will hang. Use a spirit level to make sure everything is straight. Also, if you don’t want to put holes in your wall, command strips are another great option, especially if you live in an apartment. I did; you can use them to hang other items, such as a curtain rod.
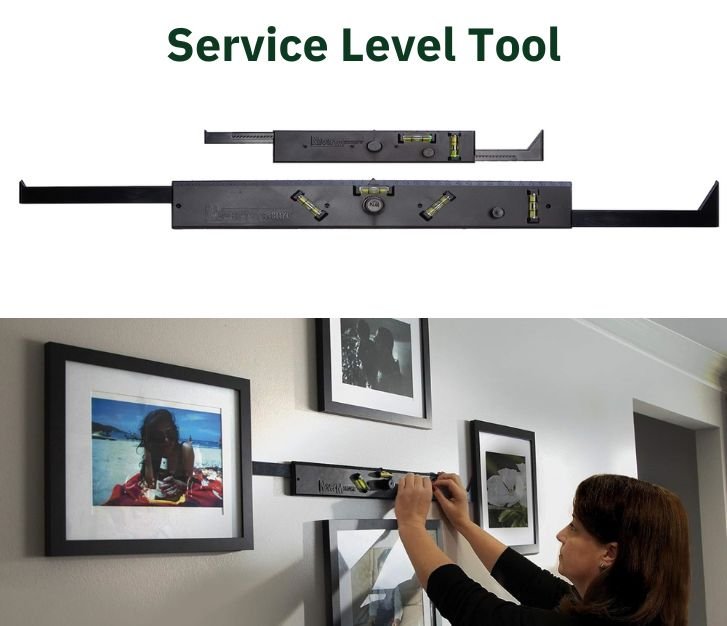
After following the seven easy steps, your gallery wall is complete. You can now stand back and be proud of what you’ve created.
Leave a Reply