Disclosure: This post may contain affiliate links, meaning I earn a small commission at no extra cost to you.
Discover beginner-friendly color drenching ideas to transform your home.
Learn how to decorate with one bold hue, layer texture, and choose wall art that complements your monochrome look.

What is Color Drenching (and Why Designers Love It)
Color-drenching is a bold interior design technique where you use one dominant color across your walls, trim, ceiling, and sometimes even your furniture.
Instead of contrasting colors, you cover the entire room in a single hue for a seamless, mood-boosting effect.
It’s an idea that started in high-end design circles and quickly made its way into everyday homes because it’s both sophisticated and soothing.
Whether you prefer a cozy terracotta living room or a moody navy bedroom, color drenching a room allows you to express your personality without clutter or chaos.
Beginner’s tip: Start with a color you already love wearing or decorating with. You’re more likely to live comfortably with it on your walls.
How to Choose Your Color Drenching Palette
The most essential part of color drenching is choosing a hue that matches your space’s light and purpose.
Soft and Neutral Palettes
Beige, sand, or mushroom tones create a calm, timeless base for small spaces.
However, these colors pair beautifully with natural wood and woven textures.
Moody and Dramatic Palettes
Navy, forest green, or charcoal add depth and luxury, especially in bedrooms and dining rooms.
Could you make sure to balance them with warm lighting and light wall art to prevent heaviness?
Warm and Earthy Palettes
Terracotta, blush, and clay tones feel grounded yet cozy. Ideally, these hues are great for family rooms or creative studios.
How to Layer Tone on Tone Decor and Texture
Once your walls, trim, and ceiling are painted, it’s time to bring the space to life with texture. Also, texture prevents monotony and adds dimension to your single-color scheme.
Try these different combinations. For instance, try combining matte paint walls with velvet or linen cushions.
Also, consider glossy ceramic vases plus woven rugs.
Another texture combination to try is soft wool throws plus lacquered trays or metallic lamps.
This mix of textured surfaces keeps your room from feeling flat while staying true to the monochromatic palette.
Incorporting Wall Art in a Color Drenched Room
Wall art can elevate a color drenched room from beautiful to breathtaking.
The goal is to make your art feel intentional—either blending seamlessly or offering a striking contrast.
1. Tone On Tone Wall Art
For a harmonious look, choose art that echoes your room’s color in lighter or darker shades.
For instance, a deep green abstract in a sage-painted room. Or, soft blush florals in a rose colored bedroom.
How about neutral line drawings in taupe or beige spaces?
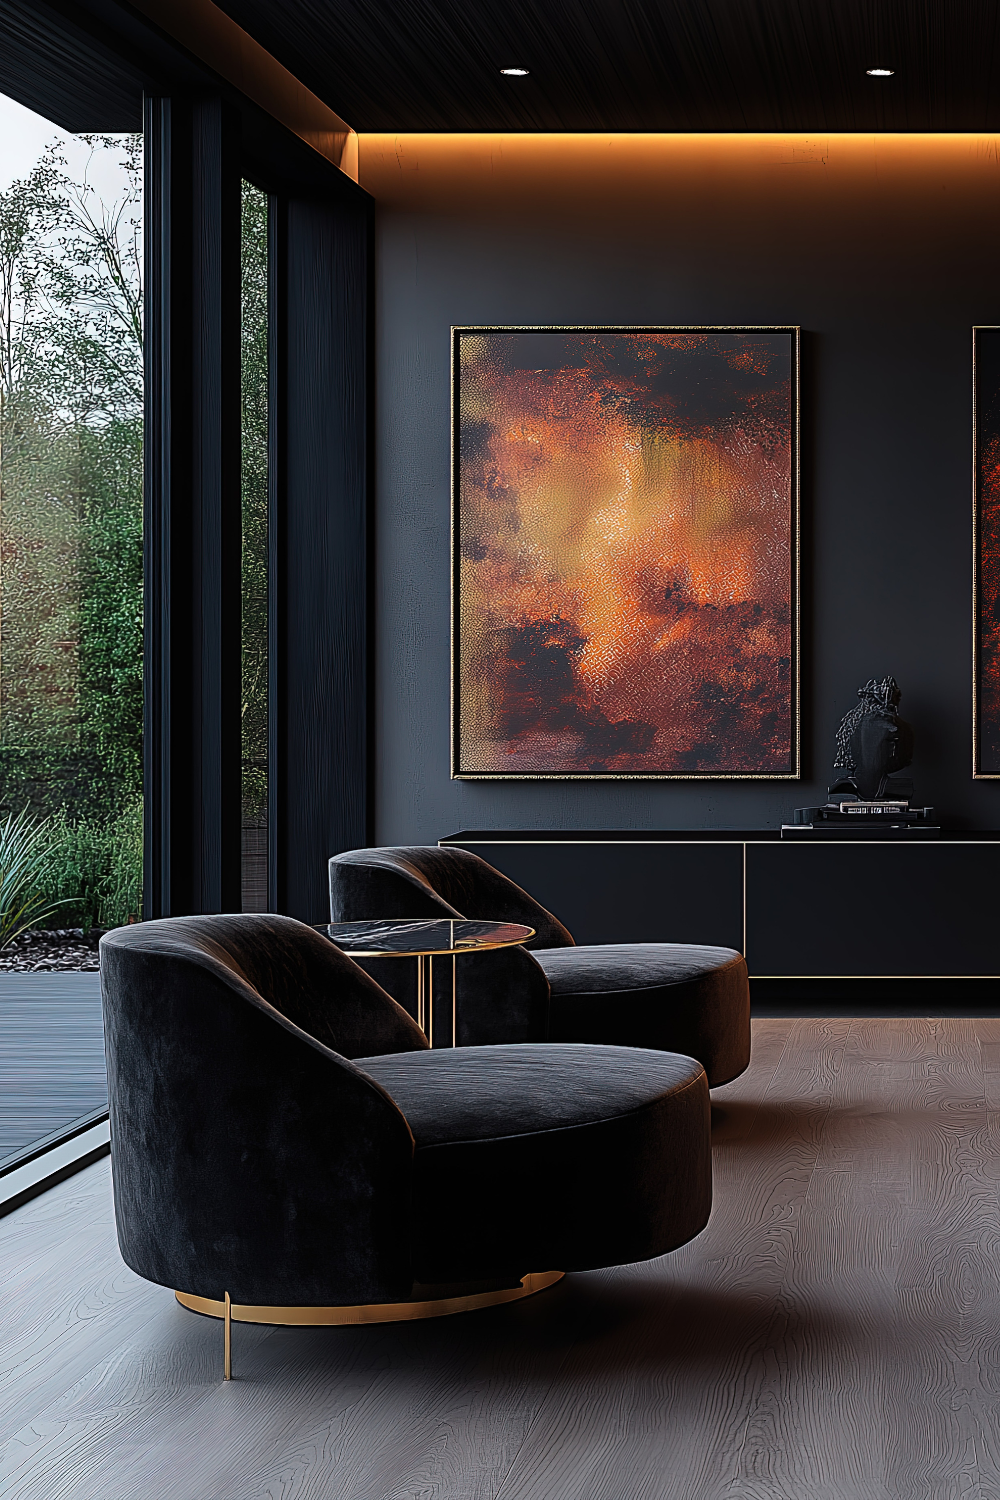
2. Contrasting Wall Art for Drama
If your space feels too uniform, introduce contrast through art.
You could add a cream or gold piece against the navy walls. Or you could try black and white photography in a terracotta room.
Experiment with metallic frames to catch the light.
Designer Tip: Use a wooden frame that matches your furniture’s grain—it creates visual flow and cohesion in small rooms.
3. Wall Art Placement
You can hang your wall art slightly lower than usual (eye level when seated), to draw your attention to the color-saturated environment.
Group smaller pieces together for a gallery-style arrangement, or opt for one significant statement to anchor your focal wall.
See Related Post…How to Choose Wall Art for Your Space.
Lighting Tips to Enhance a Single Hue Space
Lighting is what transforms your color-drenched design from flat to dimensional.
Use warm bulbs (2700K – 3000K) to bring depth to rich tones. Consider adding pictures, lights, or scones above wall art to create gentle highlights.
Position lamps near walls to emphasize the smooth transitions between tone and texture.
Before You Start: Simple Steps for First Time Color Drenchers.
- Start small. Try a powder room, entryway, or office before tackling large spaces.
- Use one color, multiple finishes. Combine matte, satin, and gloss for a subtle contrast.
- Bring in wall art early. Select pieces during your paint planning to ensure tones align.
- Don’t forget the trim and ceiling. They complete the look— otherwise, your room feels unfinished.
- Take photos of each stage. You’ll be amazed at how cohesive the space becomes as the color wraps around you.
Final Thoughts: Confidence in Color
Color drenching might sound intimidating, but it’s one of the easiest ways to make a room feel luxurious and complete.
By layering tone, texture, and wall art that harmonizes—or purposely contrasts—you’ll turn any space into a personalized retreat.
When in doubt, start small, trust your instincts, and remember, even one bold hue can tell your story beautifully.
Leave a Reply